
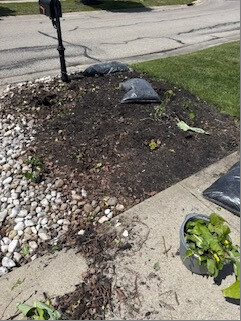
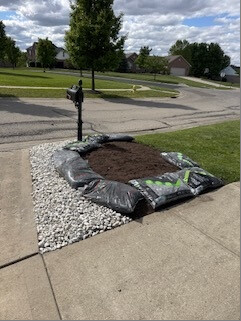
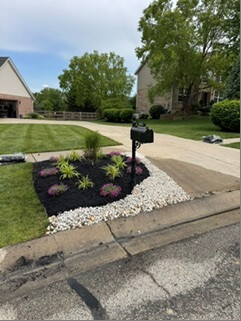
I refreshed the garden bed around my mailbox to give this highly visible spot a cleaner, more finished look.
What I used
My photos show soil, bagged landscape material, white decorative stone, dark mulch and plants. I have not recorded exact product names, quantities, costs or plant varieties here.
What I did
I worked on the bed around the mailbox, prepared the planting area and finished it with plants, dark mulch and a contrasting white-stone border. The project photos show the bed during the work and after it was finished.
What I learned
A defined border gives a small bed a clear shape, and the contrast between dark mulch and light stone makes the plantings stand out. Leave room around plant stems and consider mature plant size when laying out a bed.
Know your limits
Before digging, check for buried utilities and protect the mailbox and any nearby services. Choose plants and materials that suit the site's drainage and light.