
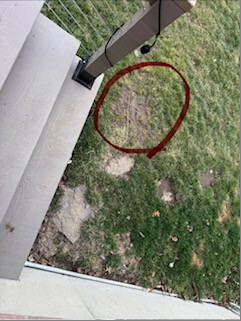
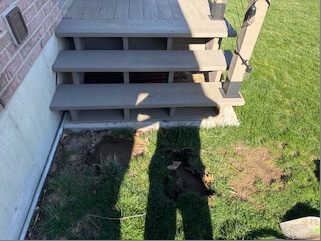
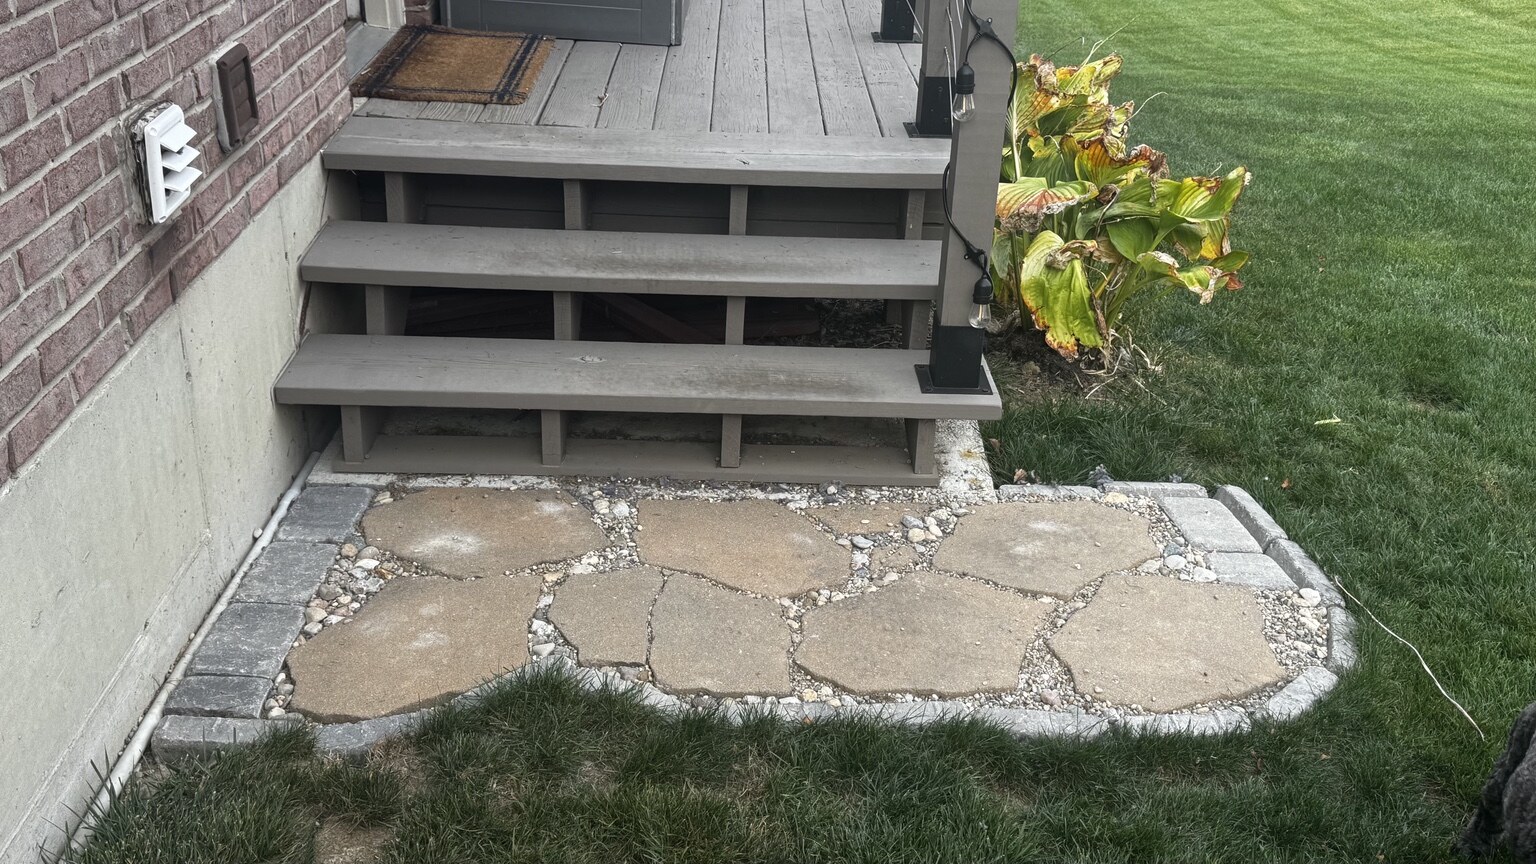
A compact stone landing prevents mud, worn grass, and unstable footing where people and pets repeatedly step off a deck.
Why I did it this way
High traffic at the same step compresses soil faster than grass can recover. A properly based landing spreads the load, drains predictably, and resists freeze and thaw movement.
What I used
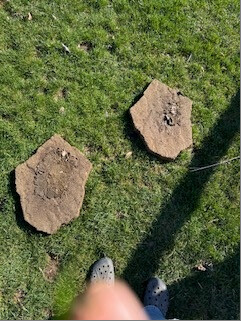
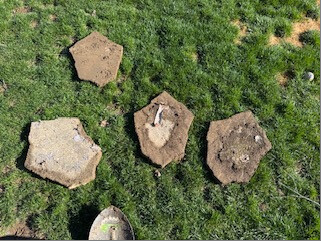
- Irregular stepping stones or pavers
- Crushed gravel or paver base
- One half to one inch leveling layer
- Hand tamper, shovel, level, rubber mallet
- River rock, pea gravel, or joint material
What I did
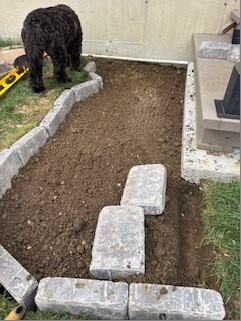
- I laid out the footprint. A practical target is about 3 by 3 feet or at least 24 by 36 to 40 inches. Make the landing large enough to receive a normal stride or repeated dog traffic.
- I excavated and established the pitch. Remove organic soil to create room for a compacted base. Pitch the finished surface away from the house about one eighth to one quarter inch per foot.
- I compacted the base. Install crushed gravel in lifts and tamp each layer. Do not rely on loose fill dirt beneath the walking surface.
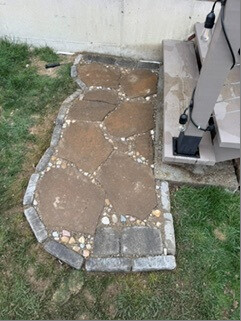
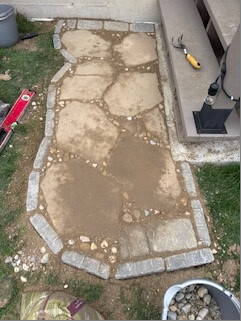
- I set each stone individually. Use a thin leveling layer and seat each stone individually. Irregular stones do not need to puzzle together; one to three inch gaps can look intentional.
- I eliminated every rocking corner. Stand on every corner. Lift any moving stone, add or remove a small amount of base, tamp, and reset.
- I finished the joints with river rock. I used river rock between the stones. Keep joint stone below the walking surface and confirm it will not roll underfoot.
What I learned
- Building directly on topsoil
- Making the surface perfectly level instead of draining away from the house
- Using loose round stone as the structural base
- Ignoring a rocking corner because the stone looks level
My result
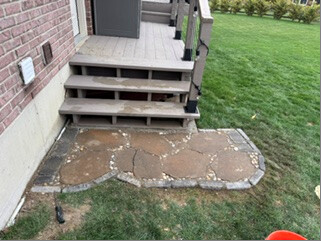
The finished landing gave the bottom step a stable, drainable surface and stopped the repeated foot and dog traffic from turning that spot into mud.
Know your limits
Call a professional if the stairs lack a safe footing, the landing affects required stair-rise dimensions, runoff is directed toward the foundation, or excavation may reach buried utilities.