
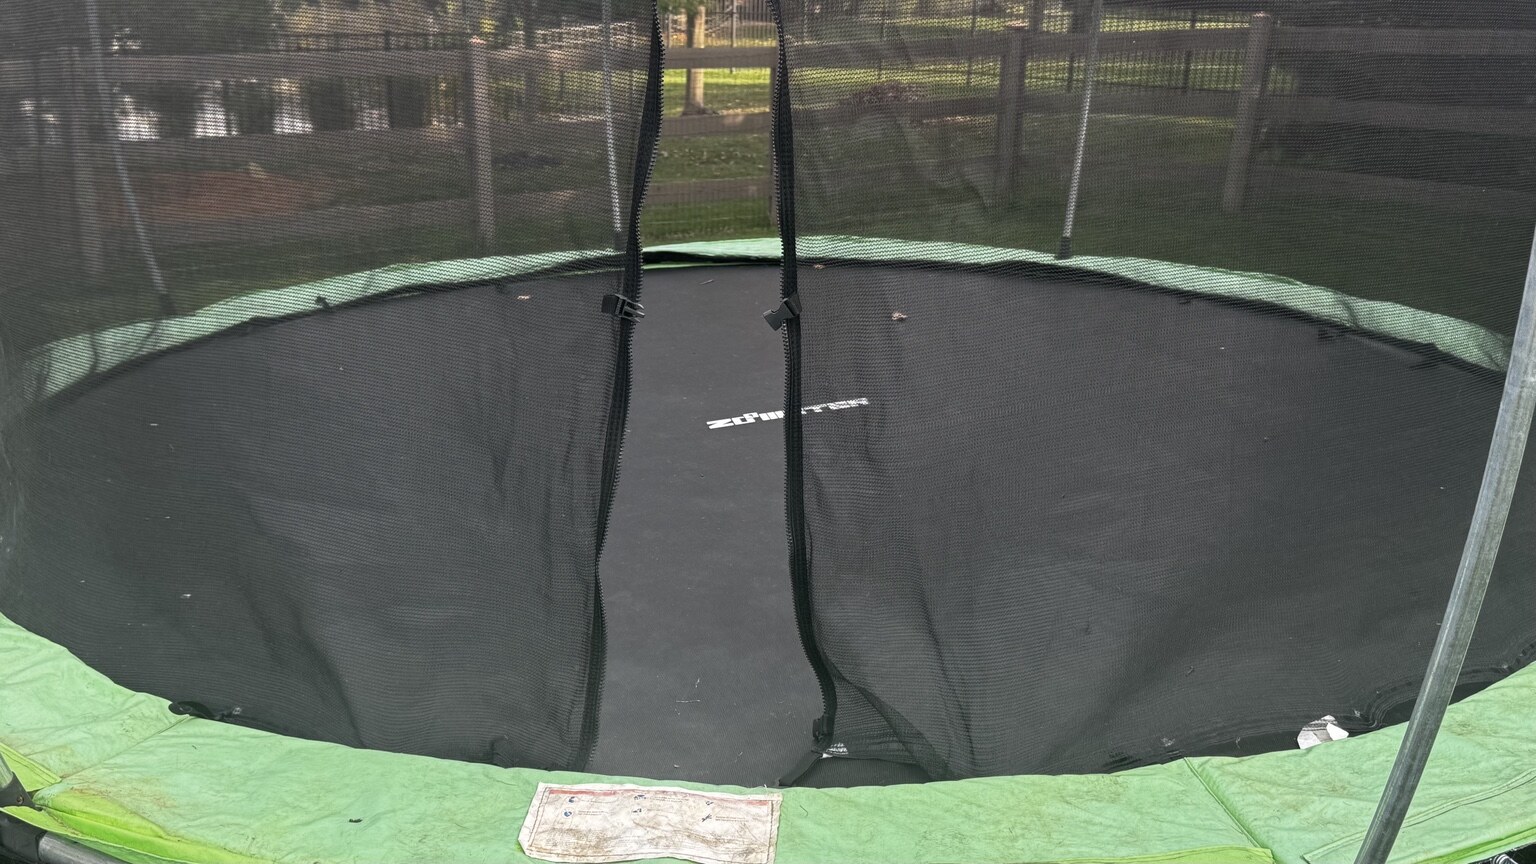
Ordering the right trampoline mat depends on three measurements that are commonly confused.
Why this matters
A mat that is even slightly wrong can overload springs, leave unsafe gaps, or be impossible to install. Frame size, spring count, and relaxed spring length must all match.
Tools and materials
- Tape measure
- Spring pull tool or sturdy spring hook
- Gloves and eye protection
- Replacement mat and matching springs
What I found and what I would do next
- Measure the frame. Measure the metal frame from outside edge to outside edge through the center. Do not measure the old mat and do not measure diagonally.
- Count the attachment points. Count every spring or mat V ring. The project record referenced 72 V rings, which must match the replacement mat.
- Measure one relaxed spring. Remove an undamaged spring and measure hook tip to hook tip. The project measurement was 5.5 inches; common sizes such as 7 and 8.5 inches are not interchangeable.
- Inspect the frame. Replace bent springs and repair sharp rust before the new mat is stretched into place.
- Install in a cross pattern. Attach springs at 12, 6, 3, and 9 o clock, then keep splitting the gaps. This distributes tension instead of pulling one side fully into place.
- Perform a final count. Confirm every V ring is connected, spring hooks face the intended direction, and the mat is centered before use.
Common mistakes
- Ordering by brand name alone
- Measuring the stretched spring while installed
- Installing all springs sequentially around the frame
- Reusing badly stretched or corroded springs
Know your limits
Stop if the frame is cracked, legs are loose, welds are failing, or the mat and enclosure no longer meet the manufacturer configuration.
Start with the diagnosis. Work safely, use the current product label or manufacturer instructions, and stop when the project moves beyond your tools, experience, or comfort level.